Replacing the imaging unit
![[Note]](../../common/note.png)
When a imaging unit has reached the end of life, the machine will stop printing (see Available supplies).
-
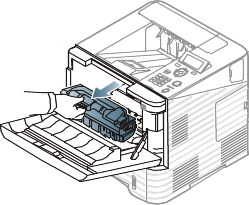
Open the front cover and pull the toner cartridge out.
-
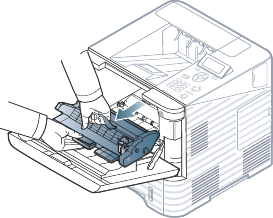
Pull the imaging unit out.
-
Remove the new imaging unit from its bag.
![[Caution]](../../common/caution.png)
-
Do not use sharp objects, such as a knife or scissors, to open the toner cartridge package. They might scratch the drum of the cartridge.
-
To prevent damage to the imaging unit, do not expose it to light for more than a few minutes. Cover it with a piece of paper, if necessary.
-
-
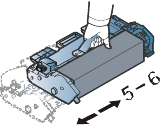
Thoroughly shake the imaging unit 5 or 6 times to distribute the toner evenly inside the imaging unit.
-
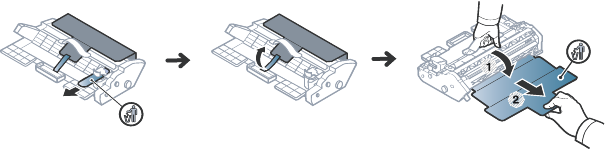
Remove the protection cover and seal.
-
Hold the imaging unit by the handle and slowly insert the new imaging unit into the opening in the machine.
Tabs on the sides of the imaging unit and corresponding grooves within the machine will guide the imaging unit into the correct position until it locks into place completely.

-
Do not touch the green surface of the imaging unit.
-
To prevent damage to the imaging unit, do not expose it to light for more than a few minutes. Cover it with a piece of paper, if necessary.
-
-
Reinsert the toner cartridge.
-
Close the front cover. Ensure that the cover is securely closed.