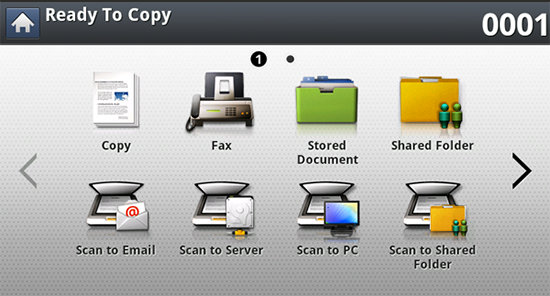
Scanning and sending to your computer
This option allows you to scan an image on the machine and send it out to your network-connected computer.
For a network connected machine
Make sure the scanner driver is installed on your computer.
-
Make sure that your machine and the computer are connected to a network.
![[Note]](../../common/icon_note.png)
> in Samsung Easy Printer Manager, and then set the option to (see Using Samsung Easy Printer Manager ). This option is disabled.
-
Place the originals face up in the RADF or place a single original face down on the scanner glass and close the RADF (see Loading originals).
-
Press from the display screen.
-
Select your computer name and press . If the machine requests a password, enter the password using the numeric keypad on the control panel.
-
Press the application program you want and press .
Default setting is .
-
Set the scan quality with in the tab.
-
Set the size of original in the tab. If you are not sure of the original size, select .
-
Set the color mode in the tab.
-
Set the file format in which the image is to be saved in the tab.
activates only when you select the application program as .
-
Press
 () from the control
panel to begin scanning.
() from the control
panel to begin scanning.
Scanned image is saved in the computer’s > > folder.