ID card copying
ID Copy
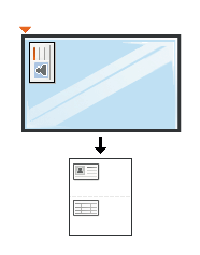
The machine prints one side of the original on the upper half of the paper and the other side on the lower half without reducing the size of the original.
This feature is helpful for copying a small-sized item, such as a business card.
|
|
|
|
-
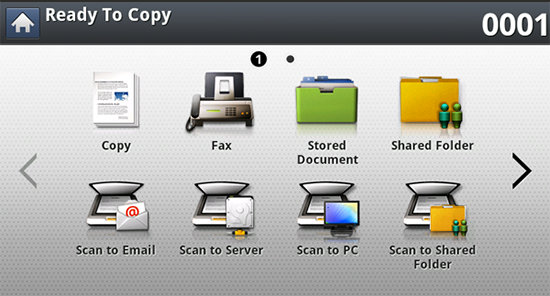
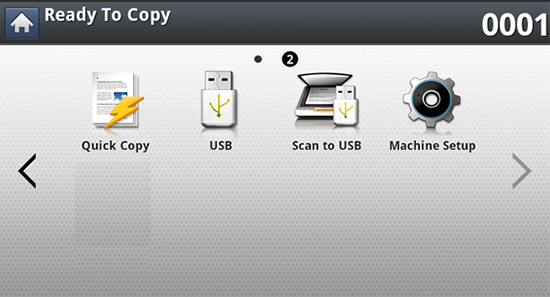
Press from the display screen.
-
Press the tab > from the display screen.
-
Select a tray in .
-
Follow the steps on the display screen.
-
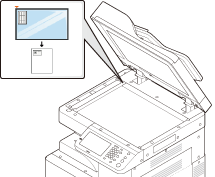
Place the front side of an original facing down on the scanner glass as shown below, and close the RADF.
![[Note]](../../common/icon_note.png)
When you place an original on the scanner glass, leave a little space between the edge of the scanner glass and the original. Otherwise, part of original may not be printed.
-
Press
 () on the control
panel. Then the machine starts scanning.
() on the control
panel. Then the machine starts scanning. -
Turn the original over and place it on the scanner glass as shown below, and then close the RADF.
When you place an original on the scanner glass, leave a little space between the edge of the scanner glass and the original. Otherwise, part of original may not be printed.
-
Press
() on the control
panel to begin copying.
|
|
|
|
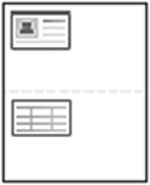
The Manual ID Copy menu allows you to customize the ID Copy layout to print up to 4 originals on a single sheet. You can use this menu to define the scanning position of the originals and the layout of the printed sheet.
|
|
|
|
Setting up Manual ID copy
The Manual ID Copy Setup menu allows you to customize the manual ID copy template.
Creating a new template
-
Press from the display screen.
-
Press the > from the display screen.
-
Select a > .
-
Select the and then type the name of the template.
-
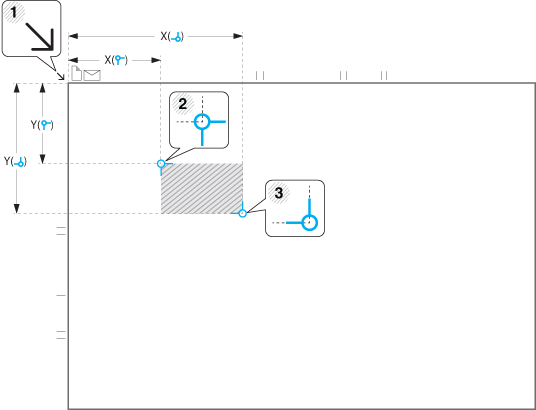
Select the and then input the location of the original on the scanner glass (mm).
-
You can define the scan area using two sets of x and y coordinates.
-
 (, ): Input the x and y coordinates for the top left corner of the
ID.
(, ): Input the x and y coordinates for the top left corner of the
ID. -
 (, ): Input the x and y coordinates for the bottom right corner
of the ID.
(, ): Input the x and y coordinates for the bottom right corner
of the ID. -
The is defined by the rectangle created between the ( 0 - 272 mm, 0 - 10.72 inches ), ( 0 - 407 mm, 0 - 16.04 inches ) and ( 25 - 432 mm, 0.98 - 17.02 inches ), ( 25 - 297 mm, 0.98 - 11.7 inches ) coordinates.
-
-
Select the and then select the number of images to include on the output sheet. The maximum number of image is 4.
-
Select the and then input the coordinates for the Image Position (mm).
-
You can specify where to print the scanned images using two sets of x and y coordinates.
-
(, ): Input the x and y coordinates for the top left corner of the
ID.
-
(, ): Input the x and y coordinates for the bottom right corner
of the ID.
-
The is defined by the rectangle created between the ( 0 - 331 mm, 0 - 13.04 inches ), ( 0 ~ 191 mm, 0 - 7.52 inches ) and ( 25 - 216 mm, 0.98 - 8.5 inches ), (25 - 356 mm, 0.98 - 14.02 inches) coordinates.
-
Editing a template
Select this setting for edit of manual ID copy template.
Deleting a template
Select this setting for delete of manual ID copy template.
-
Press from the display screen.
-
Press the > from the display screen.
-
Select a > .
-
Select a template and press .
Using the Manual ID copy
-
Press from the display screen.
-
Press the tab > from the display screen.
-
Press , and then select the desired option.
-
: Allows you to select an existing template (For more information on creating templates, see Setting up Manual ID copy).
-
: Prints only one side of the ID.
-
: Specifies the default ID Copy method (see ID Copy).
-
-
Follow the steps on the display screen.
-
Place the front side of an original facing down on the scanner glass as shown below, and close the RADF.
When you place an original on the scanner glass, leave a little space between the edge of the scanner glass and the original. Otherwise, part of original may not be printed.
-
Press
() on the control
panel. Then the machine starts scanning.
|
|
|
|